Have you ever wondered how celebrities maintain flawless makeup under harsh camera lights, through long events, and in various lighting conditions? As visagistes who have worked with numerous high-profile clients, we're pulling back the curtain to share some of the specialized techniques we use to create camera-ready looks that appear natural in person.
While celebrity makeup often appears effortless, it's actually the result of meticulous application techniques and strategic product choices. Here are some insider secrets from our professional toolkit that you can adapt for your own special occasions.
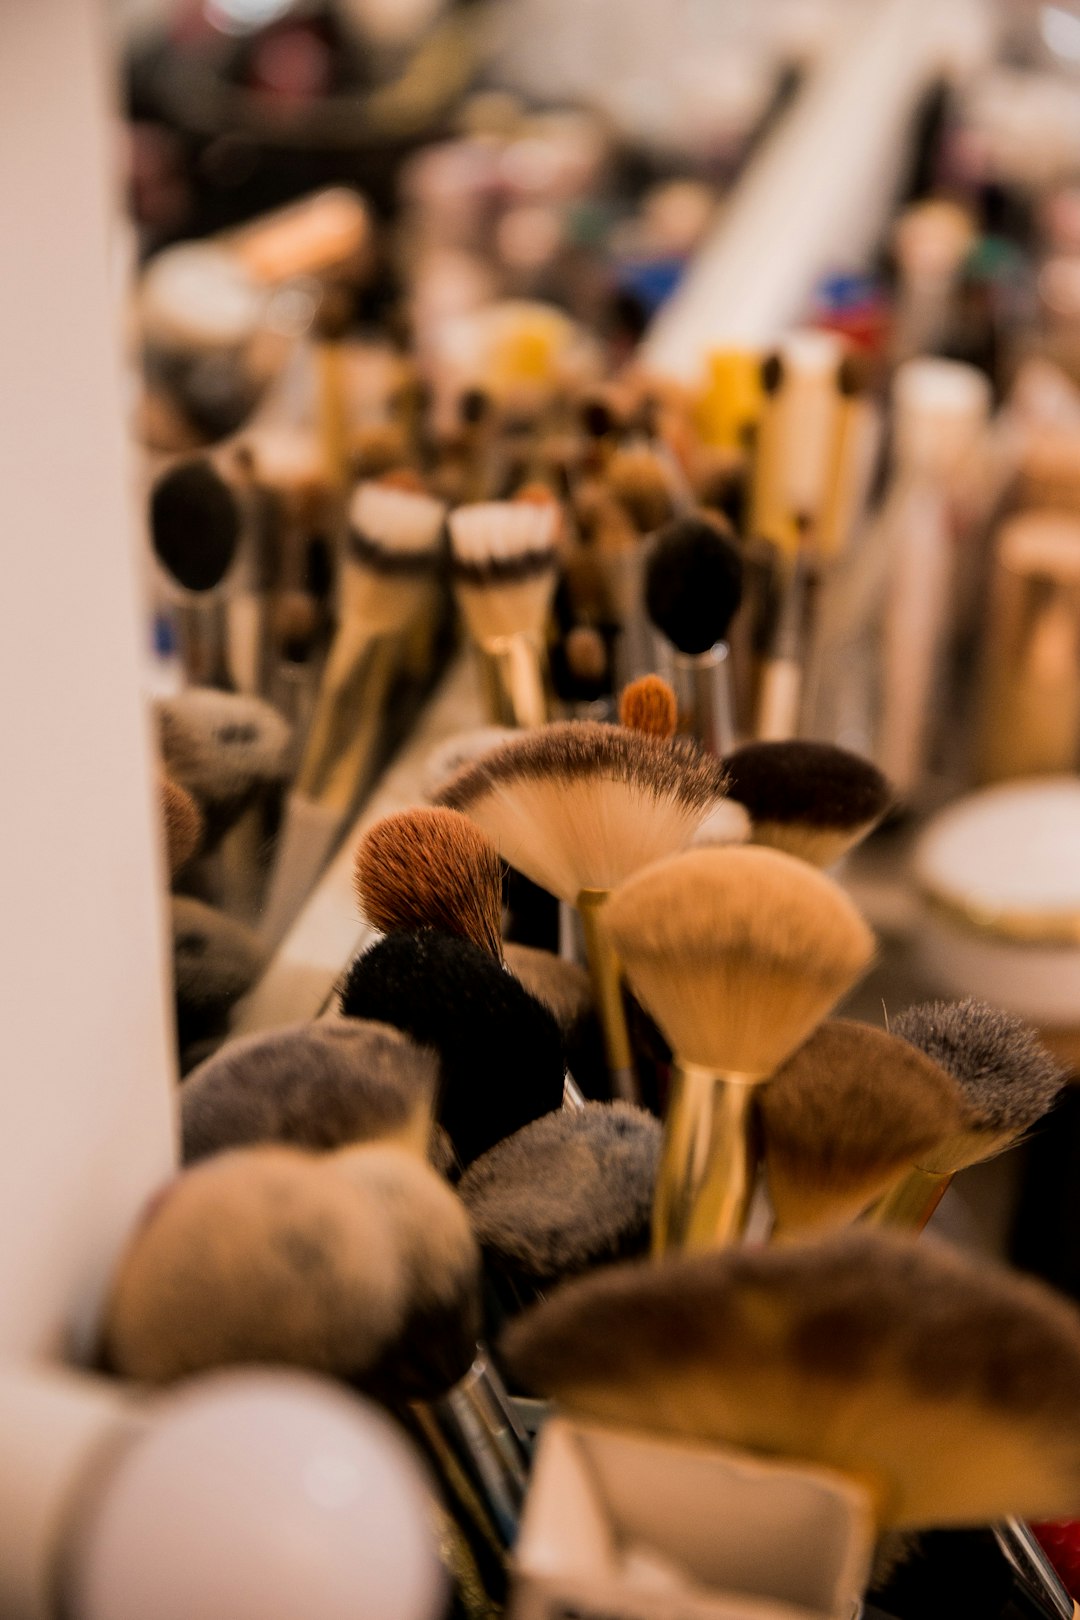
The Foundation of Camera-Ready Makeup
Technique #1: Strategic Color Matching
One of the most common mistakes in everyday makeup is using a single foundation shade for the entire face. For celebrity clients, we often use at least two different foundation shades to create dimension that reads well on camera.
Professional Approach: We apply a foundation that matches the center of the face exactly, then use a slightly warmer shade (just one shade darker) around the perimeter of the face. This creates natural dimension that cameras tend to flatten out, preventing the dreaded "mask-like" appearance in photos.
Try it yourself: Purchase your exact foundation match and one shade darker in the same formula. Apply the exact match to the center of your face (forehead, nose, chin, and center of cheeks), then blend the slightly darker shade around the hairline, jawline, and temples. Blend thoroughly where the two shades meet.
Technique #2: The Layering Method
Celebrity makeup needs to last through hours of events, interviews, and photography sessions. The secret to this longevity is strategic layering of products.
Professional Approach: Rather than applying a thick layer of long-wear foundation, we build coverage gradually using thin layers of different product textures. A typical layering sequence might be:
- Targeted color corrector only where needed (e.g., peach tones under eyes, green on redness)
- Sheer liquid foundation blended with a damp sponge
- Pinpoint concealing with a full-coverage concealer only on blemishes or discoloration
- Setting with translucent powder using a pressing motion (not sweeping)
- Cream contour and highlight products
- A final layer of powder products (blush, bronzer) to set the cream products
Try it yourself: Focus on building coverage only where you need it rather than applying full-coverage foundation everywhere. Use a small concealer brush to spot-conceal blemishes after foundation rather than before.
The layering technique creates flawless, long-lasting makeup that photographs beautifully
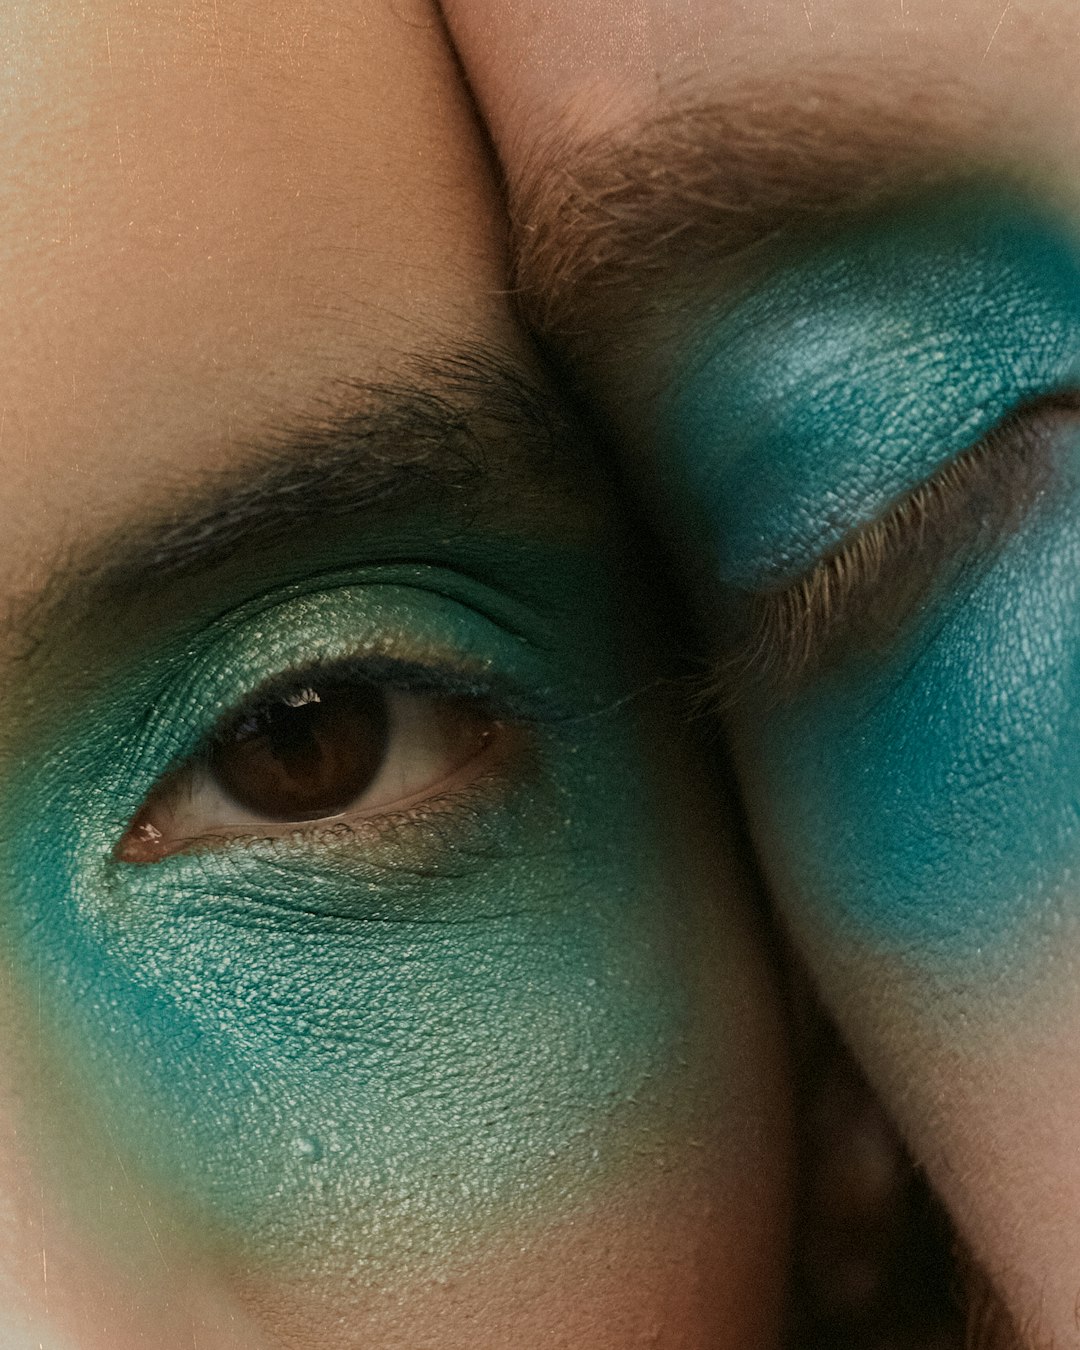
Eye-Defining Secrets
Technique #3: The Eye Lift Effect
Many celebrity makeup looks feature subtly lifted eyes that photograph beautifully from all angles. This technique creates a wide-awake, youthful appearance without obvious cosmetic intervention.
Professional Approach: We create this effect through strategic placement of light and dark eyeshadows, combined with careful eyeliner application:
- Apply a mid-tone matte shadow through the entire crease, extending it slightly upward and outward at the outer corner
- Use a lighter shade on the lid, concentrating the brightest highlight at the center
- Apply eyeliner starting from the middle of the upper lash line, making it thicker as you move outward, with a subtle flick that points toward the end of the eyebrow (not toward the temple)
- Use a nude or flesh-toned pencil (not white) on the waterline to brighten the eyes
- Apply individual lashes that are longer at the outer corners to enhance the lifted effect
Try it yourself: Practice your eyeliner placement. The most flattering angle for a subtle wing follows the natural angle of your lower lash line extended upward, rather than creating a dramatic cat-eye effect.
Technique #4: The Invisible Contour
Celebrity eye makeup often features subtle contouring that defines eye shape without obvious eyeshadow. This technique is particularly effective for everyday photography and video appearances.
Professional Approach: We use eyeshadow shades that are only slightly deeper than the client's skin tone, focusing on placement rather than color intensity:
- Choose a shadow just 1-2 shades deeper than the skin tone with a neutral undertone
- Use a fluffy brush to apply in a windshield-wiper motion through the crease
- Concentrate the darkest application at the outer corner of the eye
- Diffuse the edges thoroughly so there are no visible lines of demarcation
- Skip shimmer in the crease, as it can create unflattering highlights in photos
Try it yourself: For a foolproof approach, try using your bronzer as a crease shade with a small fluffy brush. This ensures the eye contour coordinates perfectly with the rest of your face makeup.
Sculpting Techniques for Photography
Technique #5: The Subtle "Non-Touring" Approach
The heavily contoured look that dominated social media a few years ago is rarely used for celebrity appearances. Instead, we employ a more subtle approach that photographers call "non-touring" — a natural-looking dimension that reads well on camera without obvious makeup lines.
Professional Approach: We create dimension through strategic product placement and thorough blending:
- Use cream products for initial contouring (they photograph more naturally)
- Choose contour shades with a grayish undertone rather than warm bronzers
- Apply contour products slightly higher than you think they should go (cameras tend to make facial features drop visually)
- Blend extensively with a damp sponge, then set with a translucent powder
- Layer a powder contour or bronzer on top very lightly for longevity
Try it yourself: For the most natural effect, apply contour products before foundation, then apply a sheer layer of foundation over the top. This creates the appearance of natural shadows rather than obvious makeup.
Subtle contouring creates natural-looking dimension that photographs beautifully
Technique #6: Strategic Highlighting
Celebrity makeup artists are strategic about highlight placement, especially for events with flash photography. The goal is to create a glow that doesn't translate to unwanted shine in photos.
Professional Approach: We are precise about both product choice and placement:
- Avoid highlighting the entire cheekbone; instead, focus on the highest point only
- Skip highlighting the tip and bridge of the nose (these catch natural light anyway)
- Use finely-milled powder highlighters rather than chunky glitters or very wet-looking formulas
- Apply highlight after setting spray rather than before for a more natural-looking glow
- For clients with oily skin, we mix liquid highlighter with foundation rather than applying it on top
Try it yourself: If you're being photographed, reduce the amount of highlighter you would normally use by at least half, and focus on placement at the tops of the cheekbones only, avoiding the area close to the eyes.
Long-Lasting Lip Techniques
Technique #7: The No-Transfer Lip
Celebrity lip looks need to withstand hours of talking, eating, drinking, and kissing cheeks at events. We've perfected a technique that creates beautiful, defined lips that don't transfer or fade unevenly.
Professional Approach: We build lips in layers:
- Apply a thin layer of foundation or concealer around the lip line to create a clean edge
- Use a lip liner in a shade that matches the natural lip color (not the lipstick color) to outline and fill in the entire lip
- Apply lipstick directly from the bullet
- Blot with a tissue
- Apply a second layer of lipstick
- For matte looks, dust a small amount of translucent powder over a tissue pressed to the lips
- For glossy looks, apply gloss only to the center of the lips to prevent bleeding
Try it yourself: The key to long-lasting lip color is in the liner step. By filling in the entire lip with liner, you create a base that keeps color intact even as the top layer wears away.
Techniques for Various Media
Technique #8: Adapting for Different Cameras
Professional visagistes adjust their techniques based on the type of camera that will be used. The makeup for a red carpet event differs from makeup for a magazine photoshoot or TV appearance.
Professional Approach: We consider the medium and adjust accordingly:
- For flash photography: Use more matte products, slightly stronger contour, and avoid SPF foundations that can create flashback
- For high-definition TV: Apply more sheer, natural-looking foundation and blend extensively, as HD cameras show every detail
- For editorial photography: Create more dramatic looks with defined features, as professional lighting will soften the overall effect
- For daytime events: Keep makeup lighter and focus on glow, as natural sunlight reveals heavy makeup
Try it yourself: If you're attending an event with professional photography, test your makeup with flash photos beforehand. Take selfies with flash in a dark room to see if your foundation creates any unwanted white cast.
The Final Touches
Technique #9: The Setting Secret
The final step in celebrity makeup application is crucial for longevity, especially for long events or hot weather conditions.
Professional Approach: We use a multi-step setting process:
- Press (don't sweep) translucent powder into areas prone to shine using a velour puff
- Apply a first layer of setting spray and allow it to dry completely
- For extreme longevity, lightly dust a second layer of powder focused only on the T-zone
- Apply a final layer of setting spray, fanning the face until it's completely dry
Try it yourself: Invest in both a high-quality translucent powder and setting spray. The combination of both products creates a more durable finish than either one alone.
Technique #10: The Touch-Up Kit
Even with the most durable application techniques, celebrities often need touch-ups during long events. We prepare customized touch-up kits for clients to take with them.
Professional Approach: A celebrity touch-up kit typically contains:
- Blotting papers (used before adding any additional product)
- A small pressed powder with a puff (better than a brush for touch-ups)
- The exact lip color in use
- A small concealer for spot touch-ups
- Q-tips for cleaning up any smudges without disturbing the full face
Try it yourself: Create your own touch-up kit with travel-sized versions of your essential products. The key is to blot first, then apply minimal product only where needed rather than adding more product over oil breakthrough.
Adapting Celebrity Techniques for Everyday
While these techniques are designed for camera-ready, long-wearing makeup, they can be adapted for everyday use:
- For daily wear: Focus on the layering technique but reduce the number of products. A sheer foundation with spot-concealing is sufficient for most days.
- For important meetings: The eye-lifting technique creates an alert, focused appearance that works well in professional settings.
- For special occasions: The no-transfer lip technique ensures your lip color stays put through dinner and conversation.
At Amber Folio, we believe that understanding these professional techniques allows anyone to elevate their makeup application, whether for photography, special events, or simply creating a more polished everyday look.
Want to learn more hands-on celebrity makeup techniques? Contact us to book a personal makeup lesson with one of our experienced visagistes who can tailor these professional approaches to your unique features.